Showing posts with label Baking. Show all posts

Wednesday, September 07, 2011

Blackberry and almond tart


The end of summer has brought with it a host of new cook books to browse and devour and I've been lucky enough to receive several new titles to drool over. I'm thrilled in my new house to have all my cook books in one place and easily accessible. I have a fairly obscene number and should, no doubt, have some kind of amnesty, but I can't bring myself to part with a single tome. Browsing through the new titles (thank you Octopus Publishing and Innocent) led me to consider what it is that I really like in a cook book. And the things that I don't like.

What I do like?


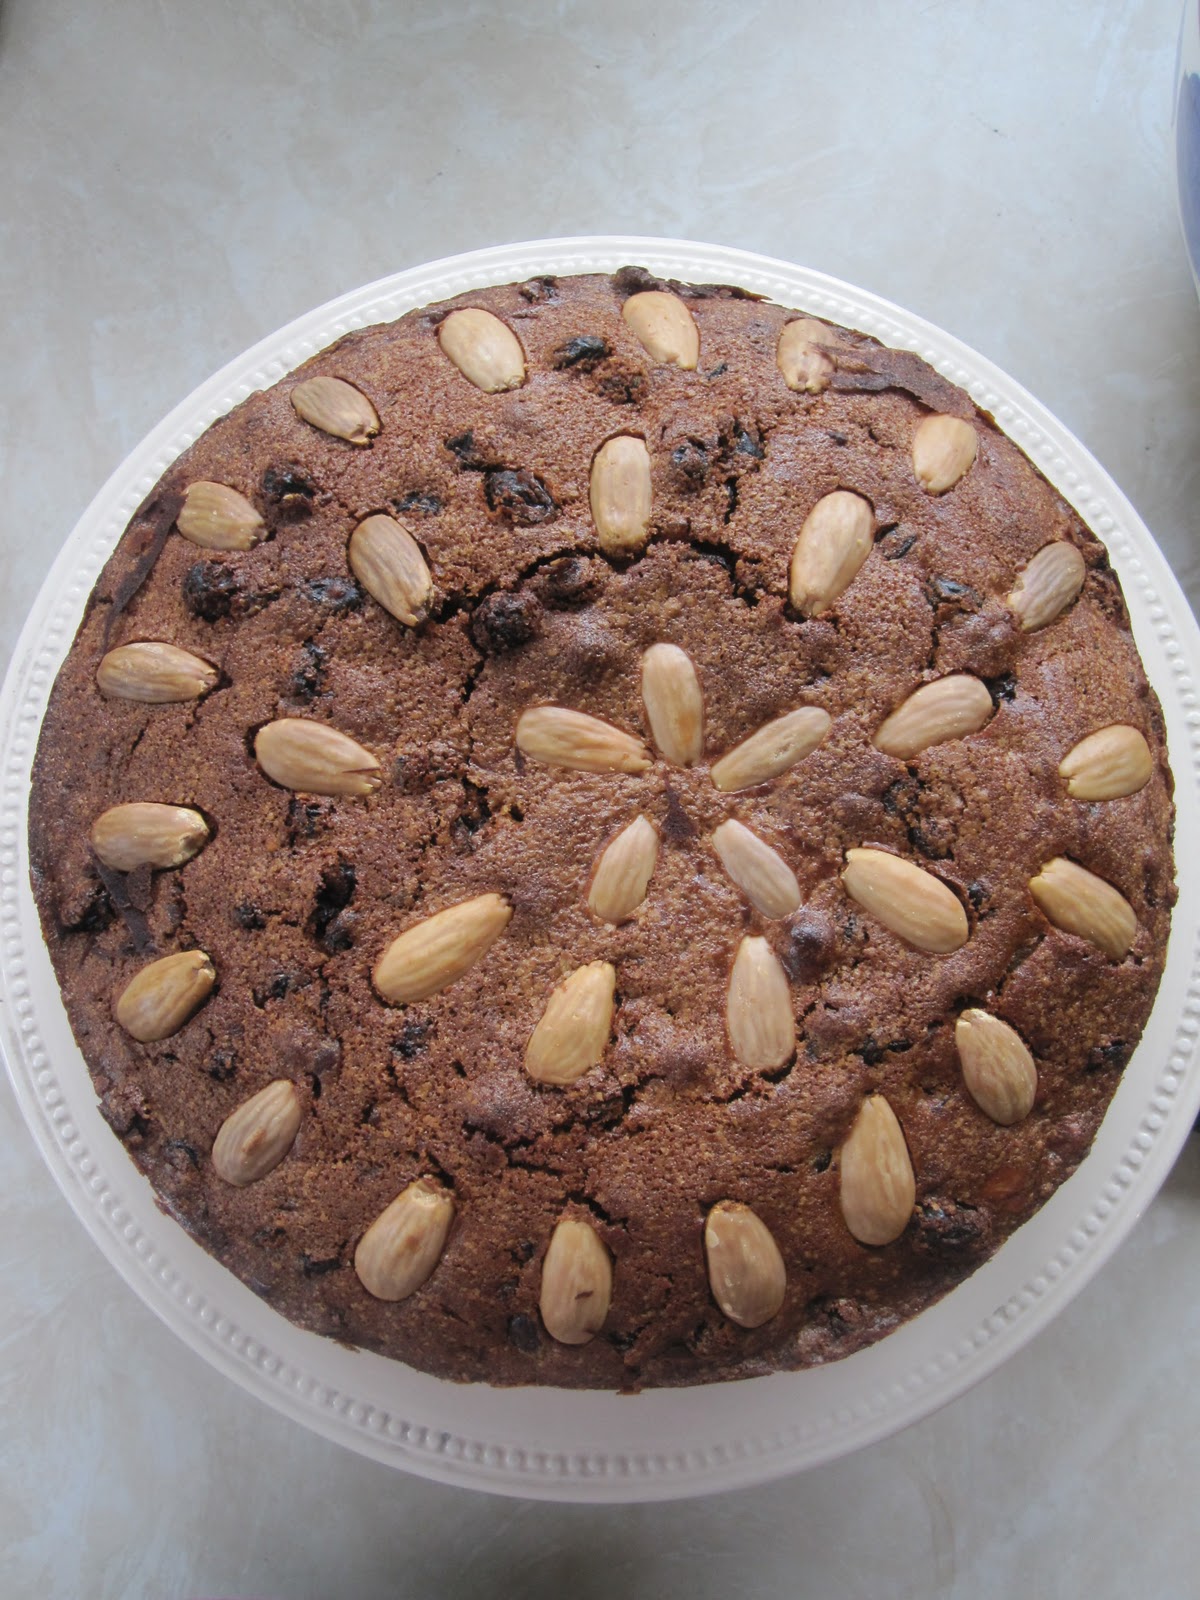
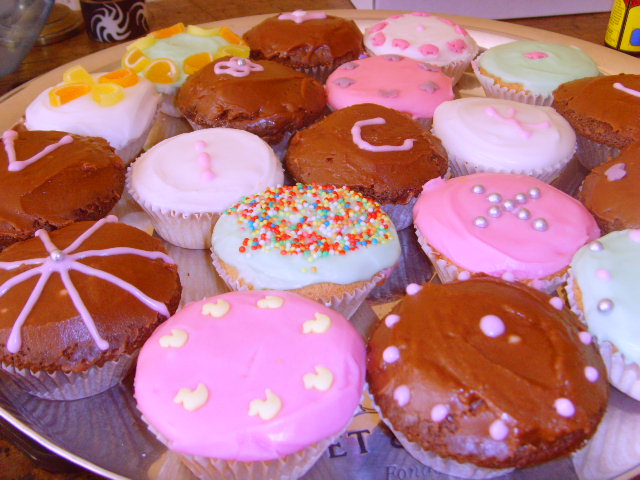
1. Pictures, pictures and more pictures. I like to see a picture of the 'finished dish'. As much as I am an imaginative sort, it is usually the pictures that seduce me and lead me from reading to cooking. My one key caveat here is Nigel Slater with his Kitchen Diaries. His writing is so evocative that I'm prepared to forgo the pics and head for the kitchen regardless. But usually, I need pictures. And this, as I mentioned, means pictures of the food. Not pictures of the cook, her glamorous home or even the ingredients. But pictures of the food being cooked. Pictures of the finished dish. I want to see onions sweating in a pan. Fluffy meringue. Wobbly jellies. Crispy-skinned duck. Steaming bowls of stew. 

2. Recipes I can actually imagine cooking. For me this means recipes easily-achievable for the home cook. Things I might actually cook for supper rather than things I'd go to a fancy restaurant to eat. Much as I might enjoy foams, froths and liquid nitrogen in my local gastro-destination, I'm happy to stick with somewhat simpler techniques at home.

3. Options. I love recipes with options and ideas. When it says 'if you don't fancy chicken, why not try this with rabbit'. 'If you've forgotten to buy the cider, you can use apple juice/white wine/stock'. If you've some leftover, add some cream and make a pasta sauce/chop it up and use as a base for trifle/add potato and fry to make a rustic hash'.

4. Tips. Along with options come tips. Particularly ones about which bits to make in advance. So useful. Freezing tips also welcome. Tips for peeling butternut squash also invaluable.

What do I dislike?

1. Recipes which haven't been properly tested in a home kitchen. Celebrity chefs are the main culprits here. I find all too often that their recipes simply don't work well. I find recipes created, developed or tested by home economists or home cooks do work well.

2. Poor proof reading. Don't get me started. This is one of little 'things'. Totally excusable in a speedy blog post but in a book that has taken months to prepare? No excuse at all. I'm sorry. As I say, it is one of my 'things'!

3. Too many photos of the chef and/or his/her home/children/friends/pets/lifestyle. Just show me the food please!

4. Faddy books that are too specialist and fly-by-night. I prefer my cook books to be more of the timeless sort that I'll return to again and again over the years.

I Love to Bake

So. I must admit that it was with a touch of cynicism that I picked up Tana Ramsay's new book 'I love to bake'. The front features a combination of admittedly tempting shots of the sort of food I like to eat and slightly nauseating photos of Tana herself posing in the kitchen looking serene and domestic-goddess-like. I must confess that I've not taken much interest in Tana's other books and have perhaps dismissed them assuming that she is simply cashing in on her husband's fame.

I was very pleasantly surprised. As I flicked through the book I found recipe after recipe that I really fancied trying and plenty of food photos to inspire me (albeit interspersed with a few too many of the author herself and her photogenic family!). The book is about baking in the widest sense. Yes there are cakes, pies and breads. But Tana's baking also extends to lamb hotpot, baked tomatoes, mackerel fishcakes and a stunning-looking salmon en croute with minted pea and bean puree. Lots of great family dishes and recipes that kids can get involved in creating.

For those with a sweeter tooth (me included), there is plenty to tempt. From classic favourites (custard creams and baked apples) to more original offerings (hot apricot and pistachio souffles and mulled wine, plum and blackberry pie), there are dozens of appealing recipes. Despite her fondness for dessicated coconut (something I cannot abide) I'm taken in by Tana's relaxed, simple, wholesome style of cooking.


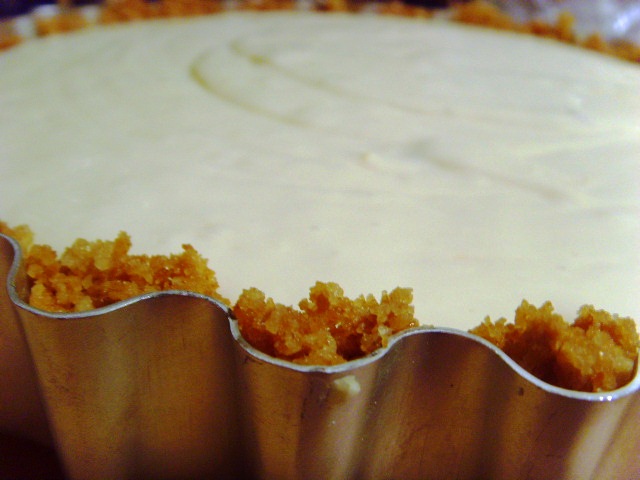
The day after receiving the book, I had my sister and her two boys for lunch. Perfect excuse to cook up a blackberry and almond tart. This tart combines a crisp dessert pastry shell with squidgy frangipane and autumnal blackberries. A winning combination but oddly one that I've not tried before. I must confess that for speed I used a good quality ready-made pastry but otherwise followed the recipe to the letter. It worked brilliantly - I was particularly impressed with the idea of brushing the pastry shell with beaten egg after blind baking and returning to the oven for 5 minutes to crisp up the pastry. Worked a treat! I would add that the tart is very versatile and would be great with raspberries, plums or other reasonably tart fruit.

This recipe is truly delicious and I urge you to try it. Tana's book has surprised me and I can see myself trialling quite a few of the recipes of the next few months.

Almond and Blackberry Tart
In my own words. For exact recipe, please see Tana Ramsey's 'I love to bake' published by Octopus Books.

Ingredients

350g dessert pastry (recipe can be found in the book)
200g blackberries
175g unsalted butter
150g caster sugar
200g ground almonds
2 large free range eggs, lightly beaten
1 unwaxed lemon

1. Lightly grease an 8.5 inch loose-bottomed tart tin and line the base.

2. Roll out the pastry on a floured surface until the thickness of a £1 coin. . Line the tart tin, pushing into the corners. Prick all over with a fork and pop in the fridge to chill for at least 45 minutes.


3. Pre-heat the oven to 180C. When chilled, line with baking paper and fill with baking beans. Bake blind for 15 minutes and then take out of oven and remove the beans and baking paper. Brush the case with a little of the beaten egg and return to the oven for a further 5 minutes, until slightly golden.

4. Whilst the case if cooking away, get started on the frangipane. Pop the butter and sugar in a food processor or mixer and beat until pale and fluffy (use a paddle attachment if you have one). Mix in ground almonds and then add the beaten eggs and lemon zest, a little at a time.

5. Pour the frangipane into the tart case and then arrange the blackberries in the mixture - pushing down into the the gloop. Make a pretty pattern, if you can!

6. Bake in the oven for 35-40 minutes until the frangipane is firm to the touch and springs back slightly. Remove and cool on a wire rack for 15 minutes or so. Serve warm with vanilla ice-cream or cream.

Friday, April 29, 2011

Royal Wedding Red Velvet Cupcakes


What a wonderful British celebration! 


Here at Food, Glorious Food! HQ, we've thoroughly embraced Royal Wedding mania. It rather snuck up upon me. I wasn't feeling overly festive until a couple of days ago when suddenly I came over all patriotic and excitable. I was helped by our village who organised a fantastic Street Party to celebrate the 'big day'. Bunting and Union Jack flags started to appear and I found myself busy planning an appropriate street party menu.

How fortuitous it was that the theme for this month's Forever Nigella should be 'Street Party'. A few weeks ago whilst out shopping I found a set of 'British' cupcake cases and royal-themed toppers and decided that a tray of cupcakes would be a good thing to share with the neighbours. The cases themselves were blue and so, playing on the British theme, I thought that bright red velvet cupcakes with white cream-cheese icing would fit the bill. I'd recently made a red velvet cake for a hen party and had been quite pleased with the results so felt keen to attempt a smaller version. Conveniently, Nigella has the perfect recipe in her newest book 'Kitchen'.


You have to be fairly brave with the food colouring to make these cakes. It takes almost a whole pot of red food colouring paste to turn these cakes into this startling shade of rouge. As I scooped the batter into my waiting cupcake cases, I thought it looked rather as though I'd squirted tomato ketchup into them by mistake. My husband thought it looked as though I'd had a nasty run-in with a kitchen knife.

I found that the mixture made a few more than the stated 24 cupcakes but I don't make huge ones. Similarly, I seem to have a huge amount of icing left over, despite topping with a reasonably generous blobs. If you like your cakes to be more icing than cake, then the full amount may be just perfect.


The cakes worked perfectly and sprinkled with little hearts and topped with royal symbols, they went down a treat at the party. I also took along this leek, bacon and mustard quiche and an interesting broccoli salad.

Other treats included this fantastic Union Jack cake...


The street party was exactly what it should be. A terrific celebration, utterly British in character and a great oppotunity to get to know neighbours better. There was music, bunting galore, silly hats and a great sense of fun.


Forever Nigella is one of my favourite food blogging events, devised by Sarah at Maison Cupcake and hosted, this month, by Mardi at Eat, Travel, Live, Write.

Wednesday, April 27, 2011

Simnel Cake


We spent Easter on the Isle of Wight at my parents' home. Lovely sunny days and catching up with family. My husband is still suffering with a slipped disc but we were able to manage a short dog walk together along the beach which was a small thing but so nice after five weeks of walking without him.

My Mum asked me if I'd bake the Simnel Cake. I was marginally disappointed as I absolutely LOVE my mother's Simnel cake and knew instantly that mine wouldn't match up. However, as I've never made one and it is possibly my favourite kind of fruit cake, I was up for the challenge.

Oddly, despite owning an entire library of cookery books, recipes for a traditional Simnel cake were few and far between. I found a few 'modern' versions including Simnel cupcakes and Delia's version which houses lumps of marzipan rather than the traditional disc in the centre. But I wanted a totally traditional version. This is what I've grown up with and this is what I wanted. I finally found a suitable recipe in Nigella's 'Feast'. I followed the recipe precisely and you can find it here.

Cake batter, then a disc of marzipan and then more cake batter

Originally the Simnel cake was baked to celebrate Mothering Sunday but, over the years, has become synonymous with the Easter celebrations. I like mine to be a good deal lighter than a Christmas cake and for it to have plenty of sweet spices. In an ideal world, I would make my own marzipan. It is so much better than the bought version. My mother usually makes her own and it makes all the difference to this cake. It sort of 'melts' into the cake whilst I found the middle layer of marzipan remained a little firm in this version. I also found the timings to be out - my cooker is usually pretty accurate but this cake needed a good 15 minutes longer. In fact, it needed longer than that. I took it out a little early and it sunk in the middle. If this happens, do as I did and simply turn the cake upside down before topping with marzipan. That way you have a nice flat surface to work with!

Take a little time witht the top of the cake. Roll out the disc of marzipan and glue onto the cake with some apricot jam. It looks nicest if you 'crimp' the edge by pinching all along the edge with your thumb and forefinger. Next, score a grid pattern on the top of the marzipan - the uneven texture on the top helps the marzipan brown when the blowtorch is applied. Arrange all the balls (apostles) on top of the cake before 'glueing' in position. It takes a little effort to get them all evenly spaces. Pick them up one at a time and glue into position. Sounds obvious but if you start glueing immediately, you may get to the end of your circle and still have two balls to fit in! Finally, brush the top of the marzipan (and the balls) with beaten egg and carefully brown with a blow-torch or under a hot grill. Go carefully as it is easy to burn the top!

However, despite these few niggles, the cake was delicious and well received. I'd make it again but next time would definitely go to the extra length of making my own marzipan.


The fluffy chickens are, in my mind, absolutely obligatory. I can't imagine Easter without them. You may feel different. In which case a little pile of chocolate eggs or perhaps some sugar flowers would look more.... tasteful!


Easter Cake Bake

I am entering my traditional Easter bake into Julia's 'Easter Cake Bake 2011' over at 'A Slice of Cherry Pie'. I hope that she likes it!

Sunday, April 03, 2011

Dundee Cake: Baked and Delicious


I'm a total sucker for a foodie magazine. My house is over-run with back copies of most of the major food magazines available and I refer to them constantly for inspiration. Despite having numerous handy recipe files, I am hopeless at sorting through the magazines and cutting out the recipes that interest me.

Baked and Delicious

I was excited to hear of a new magazine which has recently hit the shelves of our newsagents. Baked and Delicious is a part-series collection-type magazine dedicated to the art of delicious baking. Each issue is packed with inspiring recipes for traditional cakes, savoury bakes and tarts, breads, celebration cakes, scrumptious desserts, biscuits and patisserie. Each recipe is clearly illustrated and certain more complex techniques are covered in details with step-by-step guides. But most excitingly, each issue comes with an item of silicone bakeware. Collect each issue and soon you'll have a set of cupcake cases, a loaf pan, tart tin, heart-shaped mould and handy accessories such as a silicone spatula and pastry brush.

I was fortunate enough to receive a copy of the first issue for review. I liked the layout of the magazine and the variety of recipes. I also appreciated the tips for variations on certain recipes  and the detail about the origin of some of the bakes. This issue comes with a set of silicone cupcake cases but rather than try the cupcake recipe, I thought I'd try something I hadn't made before. My husband loves fruit cakes and so the Dundee cake was the ideal choice. The recipe was easy to follow and the cake turned out beautifully. I particularly appreciated the tip of making a slight dip in the cake mixture to prevent the cake rising to a point in the middle. Why haven't I thought of that before?! I was initially a little disappointed by the number of recipes in the magazine but, on reflection, I think there are enough. Importantly, the recipes are all very different (Mediterranean tarts, fougasse, macarons, chocolate fondant puddings, lebkuchen, choux pastry) and I am sure I will try a few of the others in the weeks to come.


This would be a great magazine for novice bakers who are keen to collect a great set of bakeware whilst learning a variety of techniques. But it is also suitable for keen cooks, looking to expand their repertoire and try some new bakes.

You can find all the details about this magazine collection on the Baked and Delicious website.


Friday, February 25, 2011

Mincemeat and marzipan cake


I was going to call this cake 'leftovers' cake seeing as it is made with Christmas leftovers but it struck me that, as a title, it didn't sound too appetising. But appetising it is in a 'slice with a cup of tea' sort of way. Loaf cakes are my favourite kind of cakes to bake, largely because there is minimal margin for error and no need for artistic decoartion. It is in the nature of a loaf cake to look pleasingly plain. This doesn't mean that it need taste plain however. This little loaf is packed with fruity, almondy flavour - all the more welcome now that we're somewhat distanced from the onslaught of such things in December.


Like many of my favourite recipes, this one is from BBC Good Food. It doesn't seem to be on the website - I found it in a little book that I have called '101 Cakes and Bakes'. It is a handy little book with sections on 'fresh fruit cakes', 'tray bakes' and 'muffins and cookies' amongst others. This, from the 'loaf cake' section, is an easy cake to make and you don't need any special equipment - two bowls, a whisk, wooden spoon and loaf tin. The smell as it bakes is particularly tempting and once it was out of the oven, I have to confess that I didn't manage to wait until it was cool to try a slice. I should have waited though as the marzipan was a little chewy whilst still hot - it had a better texture when cool. My only criticism would be that the chunks of marzipan sunk to the bottom of the cake. Next time I will cut them slightly smaller perhaps. Otherwise, this is a definite 'bake again' cake. It would be good spread with a little butter too, like a tea-bread. I made one minor alteration - the recipe suggest sprinkling with flaked almonds prior to baking and then dusting with icing sugar whilst still warm. I didn't have any flaked almonds (and, truth be known, don't really like them) so I simply sprinkled the top with demarara sugar which gave a nice crunchy crust to the loaf. My version is here...

Mincemeat and marzipan cake
From '101 Cakes and Bakes' by BBC Good Food

Ingredients:

200g self-raising flour
100g cold, diced butter
85g soft brown sugar
85g marzipan
2 large eggs
300g mincemeat
2 tbsp demarara sugar

1. Pre-heat oven to 170C. Butter and line a 1kg/2lb loaf tin or use a handy loaf tin liner such as these ones from Lakeland. Love them!

2. Tip flour and butter into a large bowl and rub together until you have the consistency of fine crumbs.

3. Cut the marzipan into small cubes, approx 1cm square (no bigger). Stir these into the crumbs, along with the soft brown sugar.

4. In another bowl, lightly whisk the eggs and then stir in the mincemeat. Pour this mixture into the flour mix and stir gently until combined. The batter will be quite thick.


5. Scrape the mixture into the prepared tin. Level the top as best you can and sprinkle with the demarara sugar. Bake for 1 hour, or until the loaf is golden brown and a skewer comes out clean.

6. Place tin on a wire rack to cool for 10 minutes and then tip out onto the rack until completely cool.

Notes: this teabread keeps well (4-5 days) as long as it is tightly wrapped.


Tuesday, February 15, 2011

Banoffee cupcakes

I have a confession.

I am not a huge fan of the cupcake.

I'm not quite sure how to explain myself. I like the look of them. I like the cute-ness factor. But I just can't help feeling a little... cheated... by a cupcake. I'm more of a big cake sort of girl. I prefer a slice. Also, much as I love buttercream, I just can't quite cope with the amount that is smeared atop a hummingbird bakery-style cupcake. It looks promising, but I usually end up feeling rather sick.

However, these completely divine banoffee cupcakes have stolen their way into my heart. They are very seriously good. The combination of banana and fudge chunks within and caramel-flavoured buttercream and dulche de leche on top is simply too good to resist (though I do find myself wondering how good this would be in large cake format). In my quest to conquer my cupcake antipathy I've tried a lot of cupcakes but these really do take the number one spot for my 'best-ever-cupcake'.


I was drawn to these beauties via the nice lady from the Baking Mad website. For those who haven't discovered this excellent site, I suggest you go take a look. The site belongs to Allinson flour, it would seem but in a rather subtle sort of way. Silver Spoon and Billingtons sugar are also affiliated and the products are loosely promoted here. But mainly it is a superb archive of recipes, baking tips, competitions as well as being home to a baking blog.

I was asked to try out the banoffee cupcake recipe and sent a box of baking goodies to help me along: Allinson flour, Billingtons sugars and Silver Spoon cake decorating goodies. Having waited all week for my bananas to reach sufficient ripeness, I attempted the cakes on Saturday evening with a couple of visiting friends. Glasses of fizz in hands, we got busy following the detailed instructions on the site. A nice feature of the recipes is the ability to click each stage as you go along so that you can easily find your place. Handy.

Mixing the cake batter was very straightforward and we all got rather over-excited about the fudge chunks. Upon tasting the Silver Spoon fudge chunks, Claire and Joni (of lamb tagine fame) decided to carry out a taste test and declared the fudge chunks 'a little soapy'. We were a tad worried about this but were reassured upon tasting the cakes - they seemed to have semi-melted into fudgy deliciousness. I look forward to using the remaining chunks in cookies or blondies in the near future.


The recipe states that it makes 12 cupcakes. I suspect this is 12 super-sized ones as I managed to make 24 reasonable sized cakes from the batter (slight problem as the husband is away and 24 cupcakes is a lot for one girl to get through!). The buttercream icing is made with natural icing sugar so has a lovely caramel flavour and colour - I'd not used this before but it is a good discovery. We were momentarily flummoxed with the icing as there was no direction about adding milk and we couldn't get it to mix - hopefully this will be changed on the website. One other slight problem we had was that the icing started to 'melt' somewhat and didn't hold its shape too well. This could be because our kitchen is quite warm due to the Aga. However, we persevered - one of us piped the icing whilst the others added the chocolate decorations and pieces of dried banana. I got quite excited by the heart-shaped decorations, it being Valentine's Day and all.

Anyway, the recipe can be found here. I suggest you try it. Totally delicious. I might even have one now. For breakfast...


Monday, January 31, 2011

Nigella's Chocolate Orange Loaf Cake


Like her or not, almost everyone has something to say about Nigella. Men I know who are usually uninterested by cookery are almost all enthusiastically appreciative of her talents! Women tend to me more divided. Some find her sultry ways in the kitchen irritating and demeaning. Some wish they were like her. Some wish they actually were her.

I think she is just a tiny bit marvellous. And I'm prepared to tell you why....

1. She is a cook, not a chef. She understands the home kitchen and the home cook.

2. Her books are so much more than a collection of recipes - they are a good read and often have the ability to make me laugh out loud.

3. A sense of fun pervades her food - she doesn't take herself too seriously.

4. If you've got it, flaunt it. Nigella has. And she does.

Approving of my admiration for Nigella, my husband kindly bought be her latest tome for Christmas. For various reasons, I wasn't able to follow 'Kitchen' on the television so was particularly pleased to discover the new recipes.

I'm a sucker for cake and so it was no surprise that it was a cake which first caught me eye. A chocolate orange loaf cake, to be precise. After the excess of Christmas, I couldn't really find a good excuse to bake such a thing, especially as we are trying to healthy ourselves up a bit after a few months of totally over-doing it on the food front. But then I spotted an announcement on Maison Cupcake about a new event celebrating the wonders of Nigella; Foreve Nigella. The theme for this month is 'seduced by chocolate'. It was clearly meant to be.


Donning the frilliest, kitschest apron I own, I set to work. (I had glanced briefly at the silk negligee but the thermometer showed minus two, so the thought was shortlived). The cake is a simple one to make, using mainly storecupboard ingredients and cocoa rather than chocolate. I love a simple cake now and again, don't you? This is not to say that I don't love icing and buttercream and layers and chocolate scrolls and decorations. I do. I assure you that I do. But sometimes, something a little plainer hits the spot. And makes me feel a little less naughty. After all, cake without icing is practically a health food, is it not? And this one contains oranges so it really must be good for me, no?

Anyway, having read the instructions, I set to work. If I were Nigella, I would have reached for my shiny Kitchenaid mixer. But I'm not. So I didn't. Instead I used my Kenwood. Not quite so beautiful perhaps, but equally effective. I whizzed and mixed, and then poured and scraped the contents into a loaf tin lined with my new loaf-tin-liners. I'm particularly pleased with these and I'm sure that Nigella would approve - she likes a shortcut as much as the next man.


Having seductively licked a bit of the mixture off my finger, I popped the cake-to-be in the oven and waited. The waiting was quite difficult, I must admit as this cakes smells WONDERFUL as it bakes. Upon removal, the cake looked and smelt divine but I managed to wait until it was cool before greedily gobbling down two slices before bed. Not good as I was planning to take the cake as a present for my mother the next day. Nevermind. She understood and between us, we enjoyed the remainder.


What can I tell you? Nigella triumphs again. This is a very delicious bake - the orange is a subtle and welcome addition to this otherwise plain cake. It is also lovely and light. I'll definitely be making this again. The theme for this month's challenge suggests that I should be making a chocolatey something to seduce my sweetheart for Valentine's Day. Instead I have seduced myself. I shall definitely be making this again.

Friday, January 21, 2011

Digestive biscuits for cheese


Whilst I would always choose pudding over cheese, I am quite partial to a good cheeseboard. A new cheese shop has just opened in our local town and we decided it would be rude not to investigate. We came home with a bag bulging with cheeses we hadn't tried before and were eager to test them out.

To accompany our cheeses, I decided to bake some cheese biscuits. Only I struggled to find a suitable recipe. None of my recipe books seemed to have one (and I have a LOT of recipe books) and the web was limited too. Or rather, it was hard to search for them as 'cheese biscuits' tends to produce lots of recipes for cheese-flavoured biscuits. I found lots of recipes for oatcakes but I have to confess that I loathe oatcakes. They taste, as my Grandfather apparantly used to say, 'like hanging your tongue out of the car window'.


Although I know it is far from sophisticated, I do enjoy a digestive biscuit with my cheese. Particularly with hard cheeses. I know it is frowned upon by cheese afficionados, but I like them. So there. I found a recipe and away I went...

The recipe can be found here. It worked pretty well although the dough was a little sticky and, at the same time, crumbly which made it hard to work with. Trying to cut shapes (I couldn't resist trying out my new labrador cutter), was challenging and I should have just stuck to circles. They smelt fantastic as they baked though and I was optimistic.


The taste? Well, I was a little disappointed if I'm honest. The flavour was really good but they were very heavy. I used a medium oatmeal and think pinhead or fine oatmeal would have given a better result. They worked well with the cheeses though - particularly with the blue which was a Colton Basset Stilton.

I would make these again, but next time I'll add a touch more flour (or less liquid) to prevent such sticky dough. I'll roll the dough thinner to make slightly more manageable biscuits.

Friday, December 24, 2010

It is beginning to look a lot like Christmas!


Finally beginning to feel a little Christmassy. All the last-minute preparations are well underway and we are awaiting the safe arrival of my in-laws. I've mentioned before that it will be strange having my first Christmas away from 'my' family but I've really enjoyed planning our own festivities and deciding what we'll eat over the next few days. On the other hand, we've be fairly shocked at how the shopping bills have added up and I now look at my mother's Christmasses with a whole new level of appreciation!

I iced my Christmas cake last night and, have to say, am quite pleased with the results. I've probably only iced one or two other cakes in my life so I don't think this is too bad for an amateur! It is a very simple yet bold design. I can't find any subtle pins, so you'll have to excuse the safety pin that is currently holding the bow in place in these photos.

Here's how I did it...

I turned my mature cake upside down onto a cake board to give me a flat surface on the top. I then filled in the gap at the bottom with 'sausages' of marzipan. Using warm apricot jam as the glue I then filled in any major 'holes' in the surface with little balls of marzipan which I then smoothed to give and even-ish surface. Next I rolled out a large piece of marzipan and covered the whole cake, trimming the edges to fit.


I left the marzipan overnight to dry out a little and then covered with fondant icing, glued on with warm apricot jam. I used my handy 'smoothing' tool to smooth over any cracks in the surface (thought there are still a few on the corners!). Next I rolled out red fondant icing and cut out the snowflake shapes which I stuck in position with a little water. A piece of red ribbon completed the cake!


I'm looking forward to reading about everyone's Christmas feasts over the next few days and wish you all a very Happy Christmas!

And just because I can't resist, here is a snowy picture of my rather handsome little furry friend. He's wishes you a Happy Christmas too (he told me so!).